Billiards & Snooker — 03 · Tip and Power
The aim decides where the object ball goes. The tip spot and the power decide what the white does. This lesson covers the five tip spots, the safe zone, keeping the cue level, five power levels, how the white slides and then rolls, and the straight-pot family: stop, follow, screw, stun run-through, long-range screw and the drag shot.
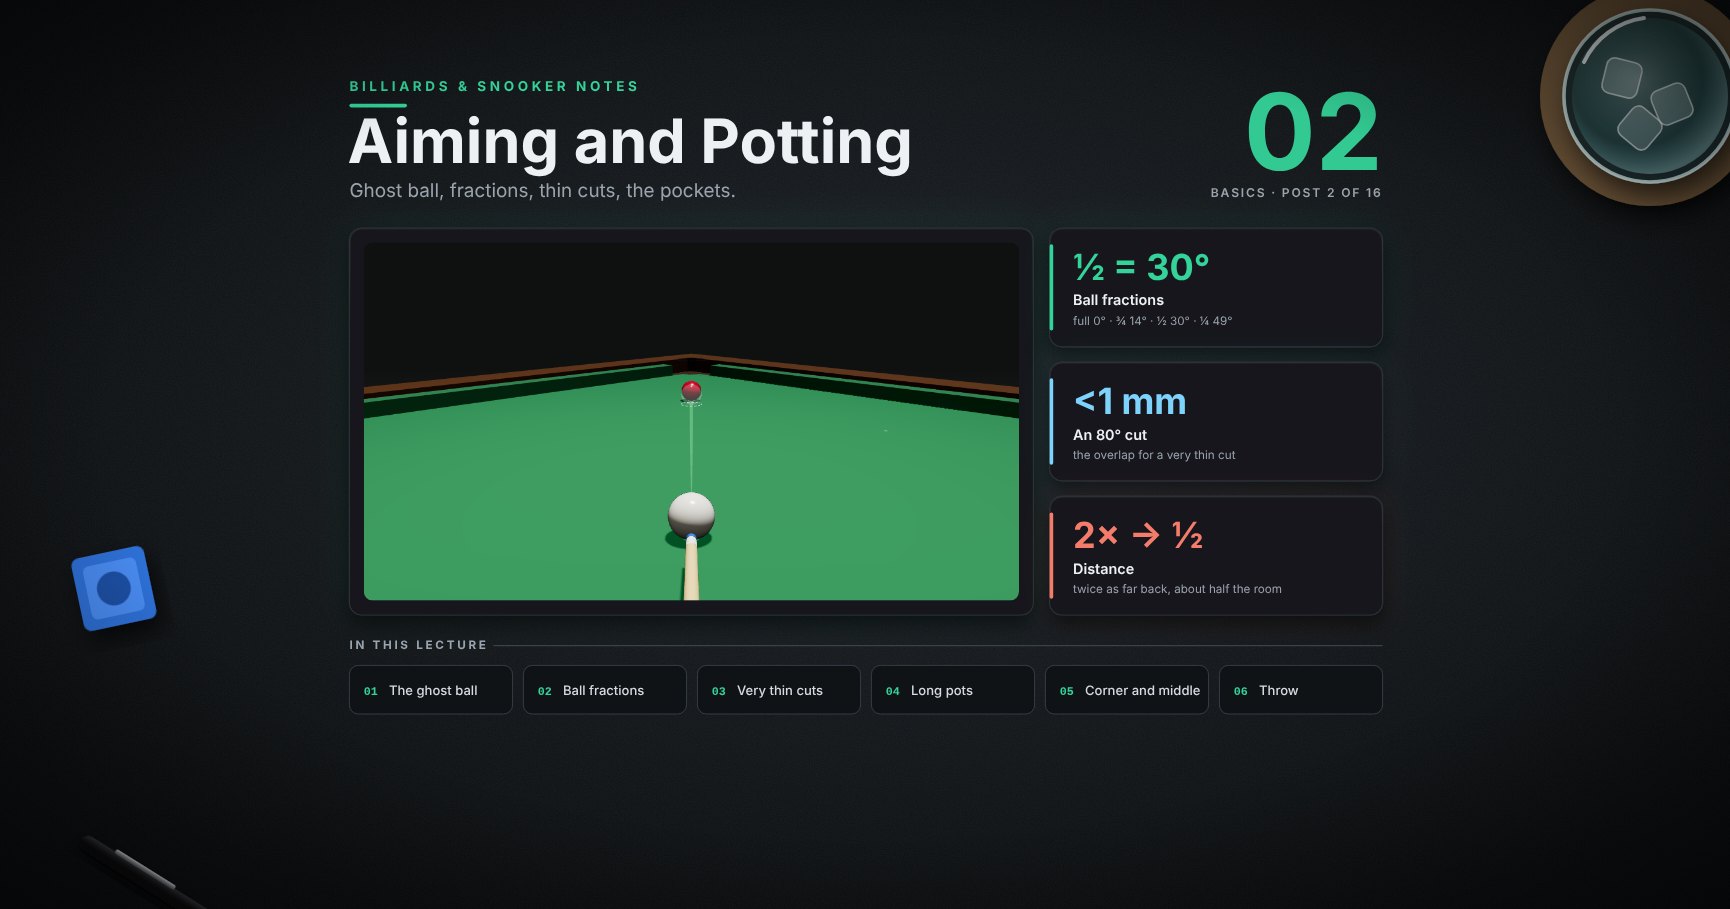
Series map. ★ Basics: 01 Cue action and elevation → 02 Aiming and potting → 03 Tip and power (this post) → 04 Where the white goes · ★★ Club: 05 Side spin → 06 Cut and side into pockets → 07 Cushions → 08 Doubles · ★★★ Advanced: 09 Escaping snookers → 10 Multi-ball shots → 11 Safety → 12 Position play · ★★★★ Hard: 13 Break-building → 14 Special shots · Reference: 15 Rules, tactics and practice · ★★★★★ Pro: 16 Cue-ball control.
Learning Outcome
- Know the five basic tip spots and keep the tip inside the safe zone.
- Keep the cue level for low shots, and see why.
- Pick a power from 1 to 5 by how far the white would roll.
- Know where the white stops sliding and starts rolling, for each tip height.
- On a straight pot: stop, follow, screw and stun run-through on purpose.
- Screw from long range, and play a drag shot to arrive slowly from far away.
Two signs used in every clip:
| Sign | Means |
|---|---|
| white circle with a blue dot | the white seen from behind; the blue dot is where the tip hits |
| five bars | power: 1 gentle … 5 very hard |
Chapter 1 — The tip
1 · Five spots on the white

| Spot | What it does | Where |
|---|---|---|
| centre | plain ball: the white slides, then rolls on | here |
| ▲ top | follow: the white runs on after the hit | here |
| ▼ bottom | screw (backspin): the white comes back | here |
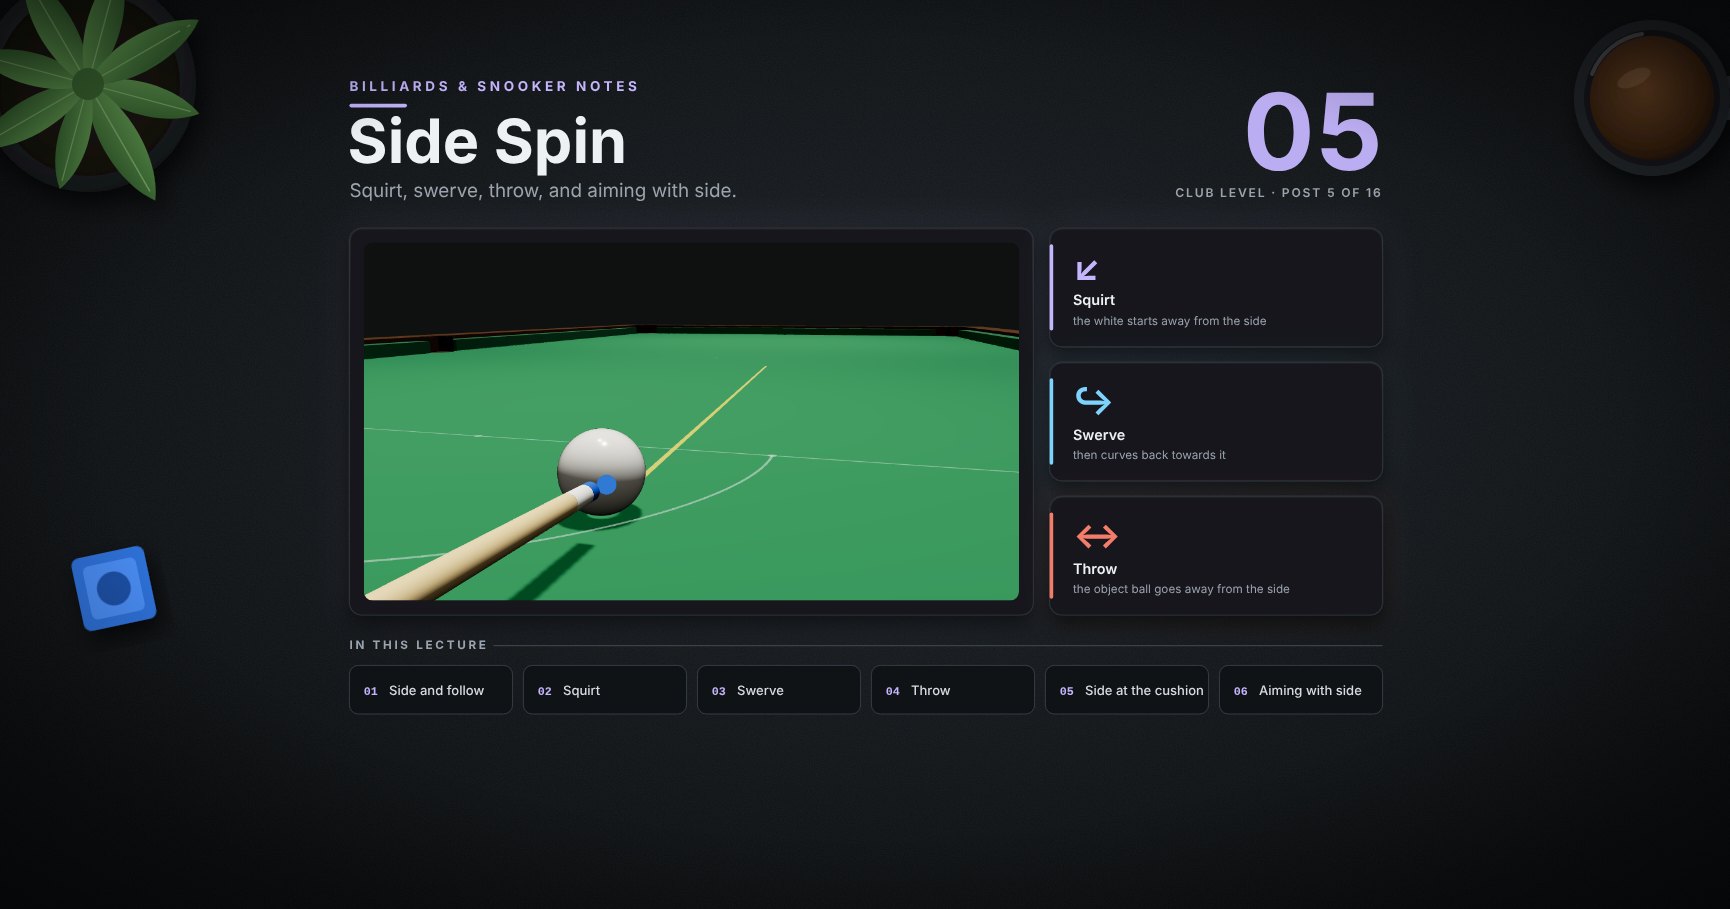
| ◀ left / right ▶ | side: changes the angle off a cushion | post 05 |
Start with the centre. Most pots need nothing else.
2 · Stay inside the safe zone
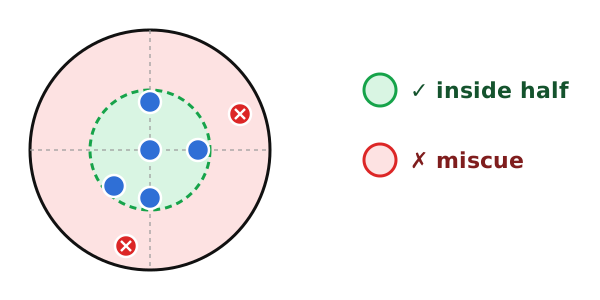
Keep the tip inside the green circle, about half-way from the centre to the edge. Further out, the tip slides off the ball (a miscue) and the white goes anywhere.
Trick: chalk before every shot. Most miscues are a dry tip, not a bad spot.
3 · Low shots: keep the cue level
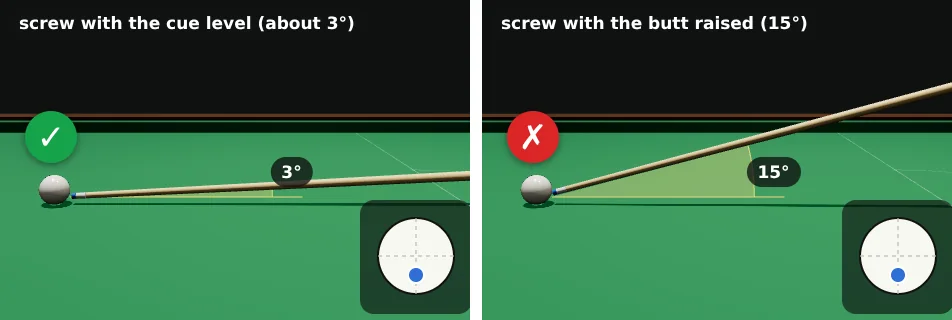
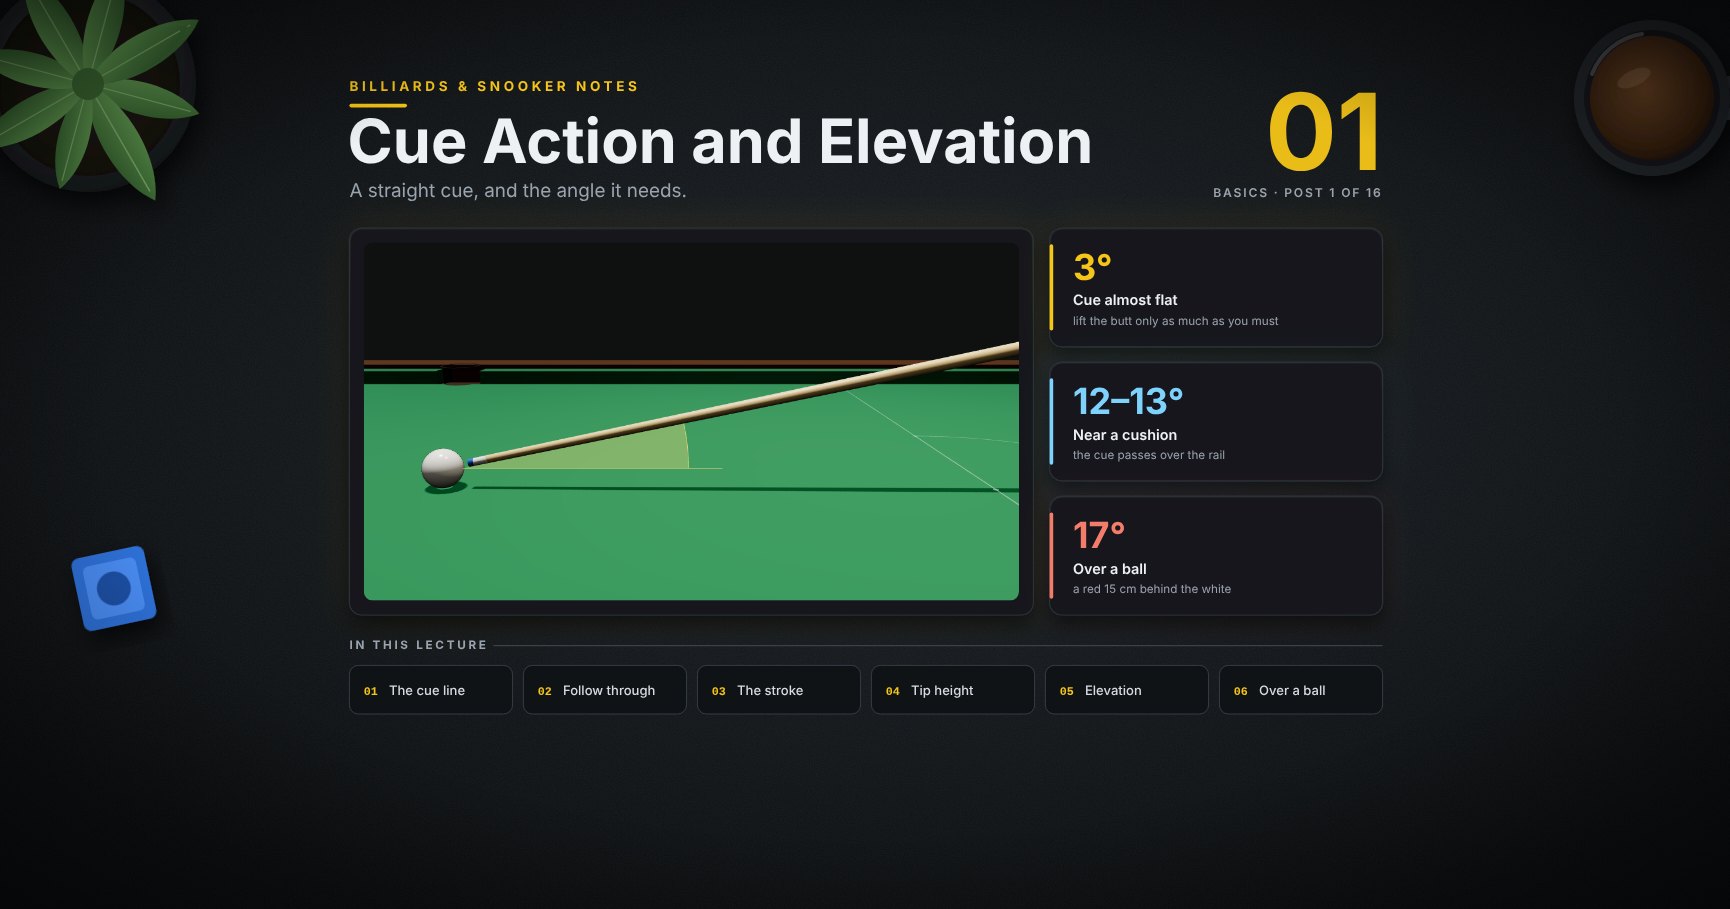
To hit low, lower the whole cue (post 01, tip height) and keep it nearly flat, about 3° ✓. Raising the butt to reach the bottom of the white ✗ makes the tip strike down into the ball.
Watch out: a raised cue plus even a little side makes the white curve (swerve, post 14). On low shots that curve is a common, hidden cause of missed pots.
Chapter 2 — Power
4 · Power 1 to 5
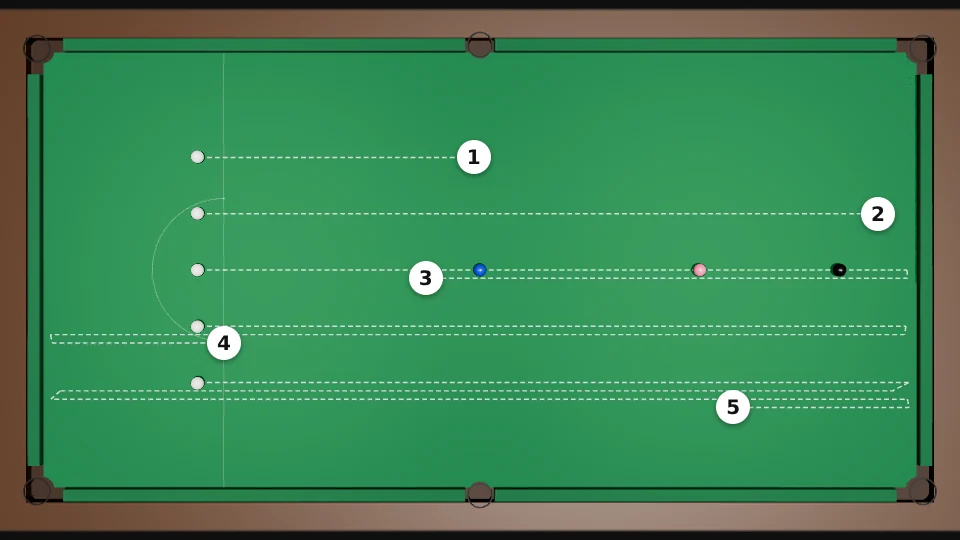
The series describes power by how far the white would roll on its own, hit in the centre from the baulk line:
| Power | The white alone rolls… |
|---|---|
| 1 | to the blue |
| 2 | to the top cushion |
| 3 | up, and back past the blue |
| 4 | up, and back to the baulk line |
| 5 | up, back, and up again |
Most pots are power 2–3. Power 5 is for breaking up a pack or a long escape. A softer hit is easier to control.
Trick: before a shot, picture the white's journey and pick the number. Then play that number, not "hard" or "soft".
5 · Watch it: a straight pot, centre ball
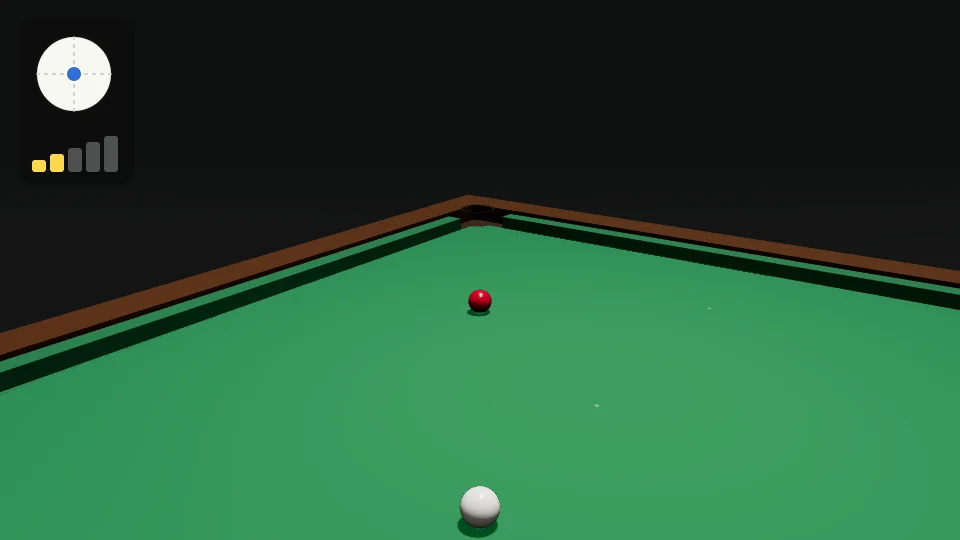
Centre, power 2, cue straight through. The red drops ✓ and the white follows it a little way. Why it follows is the next picture.
6 · Where the white starts to roll
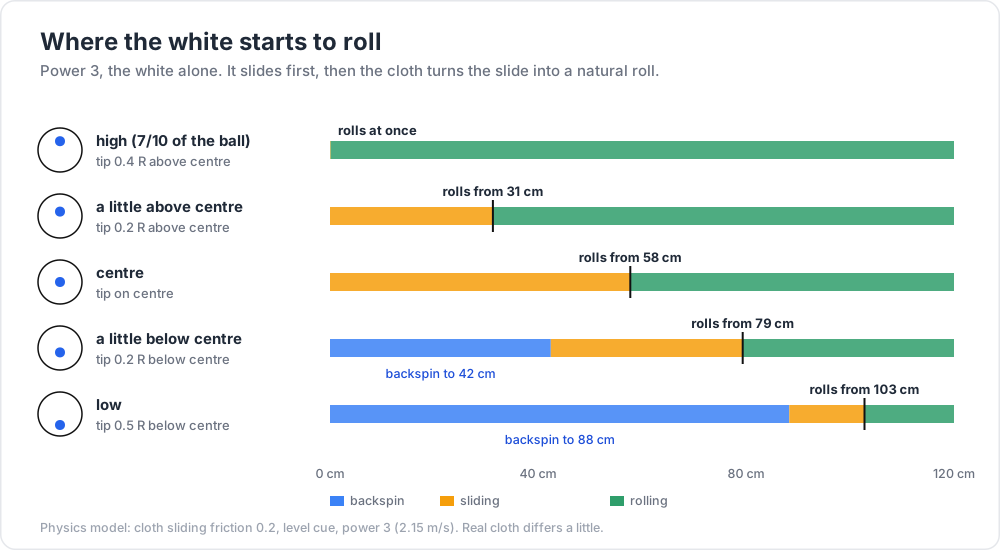
A struck white first slides. The cloth then rubs it into a natural roll. Where that happens depends on the tip height (model, power 3):
| Tip | Backspin lasts to | Rolling from |
|---|---|---|
| high, 7/10 of the ball's height | none | at once |
| a little above centre | none | 31 cm |
| centre | none | 58 cm |
| a little below centre | 42 cm | 79 cm |
| low | 88 cm | 103 cm |
This one picture explains the next four sections:
- Stop = the white reaches the red while it has no spin: the moment the blue part ends.
- Screw = it reaches the red while still blue (backspin).
- Follow = it reaches the red while green (rolling).
- A centre hit on a 2 m pot is rolling long before it arrives, so it follows.
Chapter 3 — Stop, follow, screw and the in-betweens
7 · Stop: the white stays where it hits
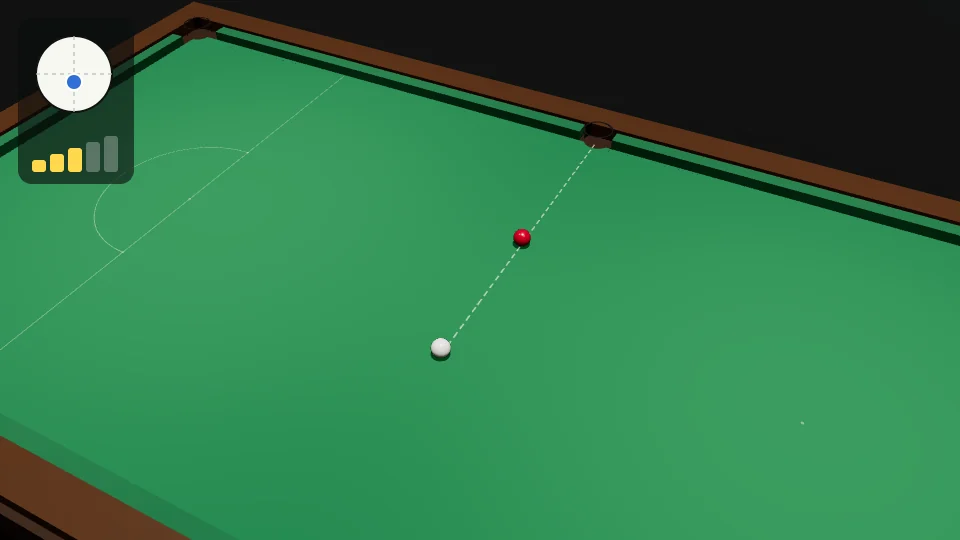
A little below centre, power 3, the white 50 cm from the red. It arrives with no spin left, hands all its speed to the red and stops ✓.
8 · Follow: the white runs on
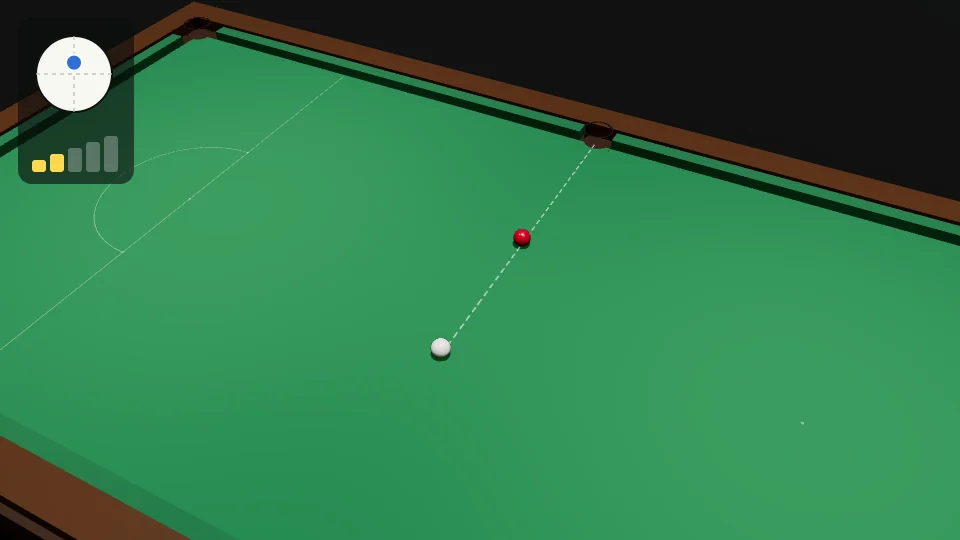
Above centre, power 2. The white is rolling when it hits, so it keeps going after the red, here about a third of a metre.
Watch out: too much follow on a straight pot and the white follows the red into the pocket (an in-off, a foul).
9 · Screw: the white comes back
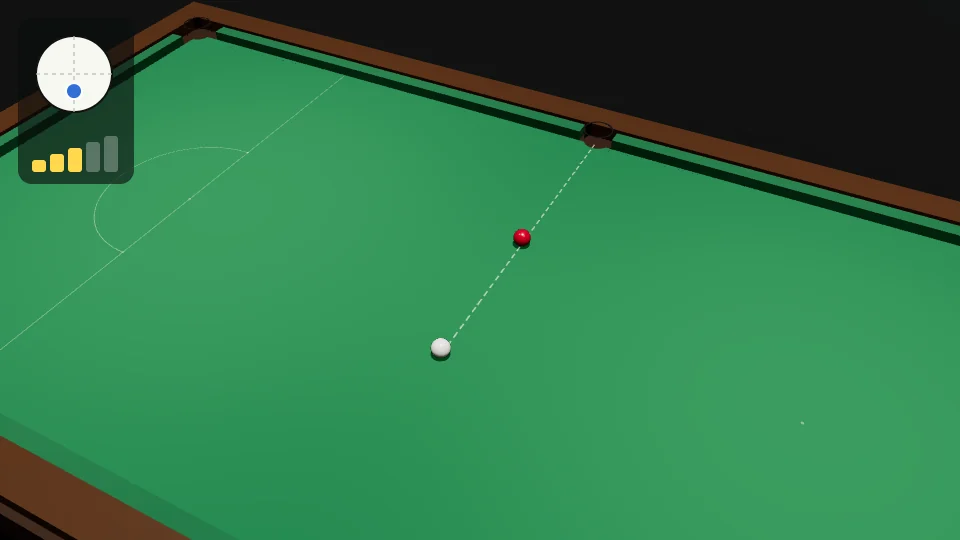
Low, power 3, and let the cue go through the white. The backspin is still on when it hits, so the white comes back, here about 60 cm.
10 · Stun run-through: a few centimetres on
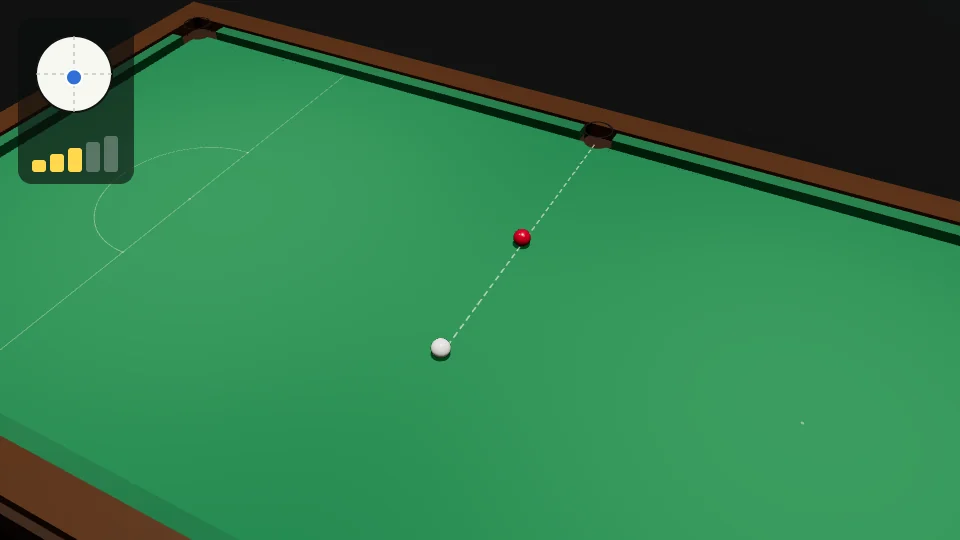
Between stop and follow. The tip goes just below centre, a little higher than for the stop. The white arrives with a touch of forward roll and creeps on, here 16 cm (model: stop at 0.21 R below centre, run-through at 0.09 R below).
Use it when you need the white a short way forward with a firm, straight-feeling hit. A soft follow over the same distance would be more affected by the cloth.
11 · Further away? Hit lower, or firmer
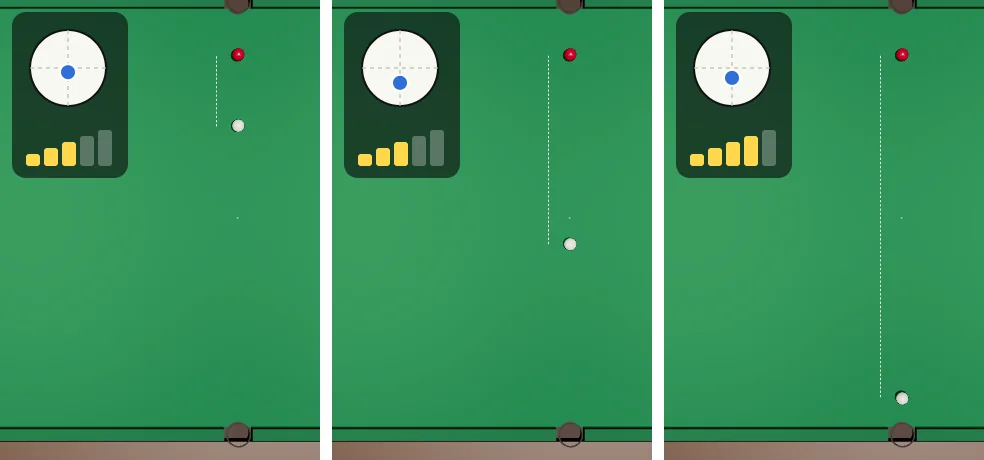
Backspin wears off on the way (section 6). So to stop the white:
| Distance | Tip | Power |
|---|---|---|
| short (30 cm) | just below centre | 3 |
| medium (80 cm) | clearly lower | 3 |
| long (1.5 m) | low | 4 (more power keeps the spin on) |
12 · More power, more screw
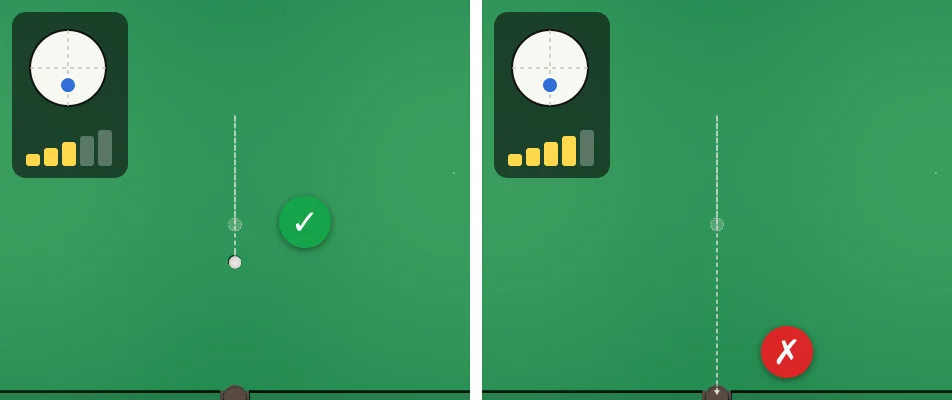
The same low tip: power 3 brings the white back about 60 cm ✓. Power 4 brings it back more than a metre, here into the pocket behind ✗.
Common pitfall: "My screw doesn't work." Usually the tip is not low enough, or the cue stops at the ball. Let it go through.
13 · Screw from long range
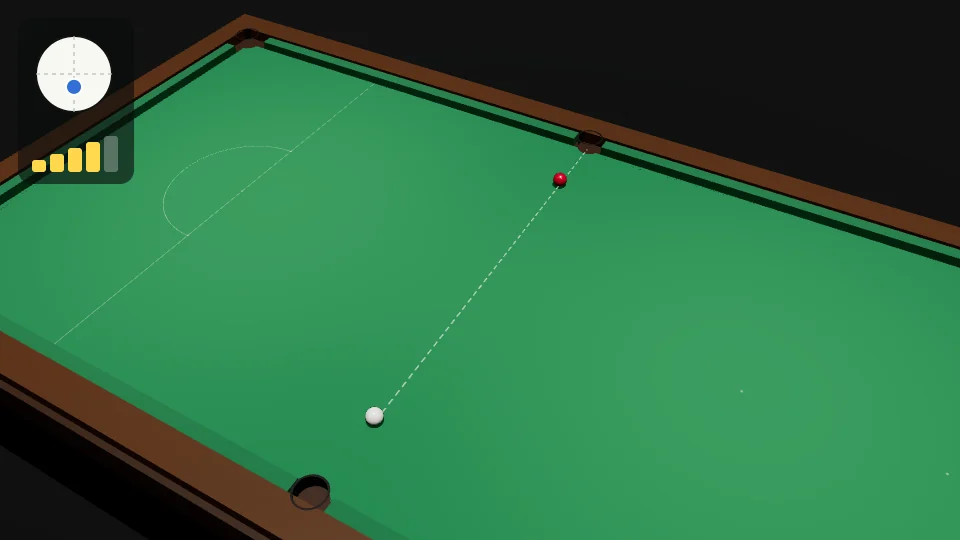
The white is 1.25 m from the red. In the model:
| Power | To bring the white back 40 cm |
|---|---|
| 3 | not possible: even the lowest safe tip (0.5 R) runs on about 20 cm |
| 4 | tip 0.34 R below centre: back about 38 cm ✓ |
So for long screw, power comes first: the white must still be blue (backspin) when it arrives. Then set the distance with the tip height. Small changes matter: at power 4 the full 0.5 R low sent the white back almost 1.5 m, into the far pocket.
14 · The drag shot: hit firmer, arrive slowly
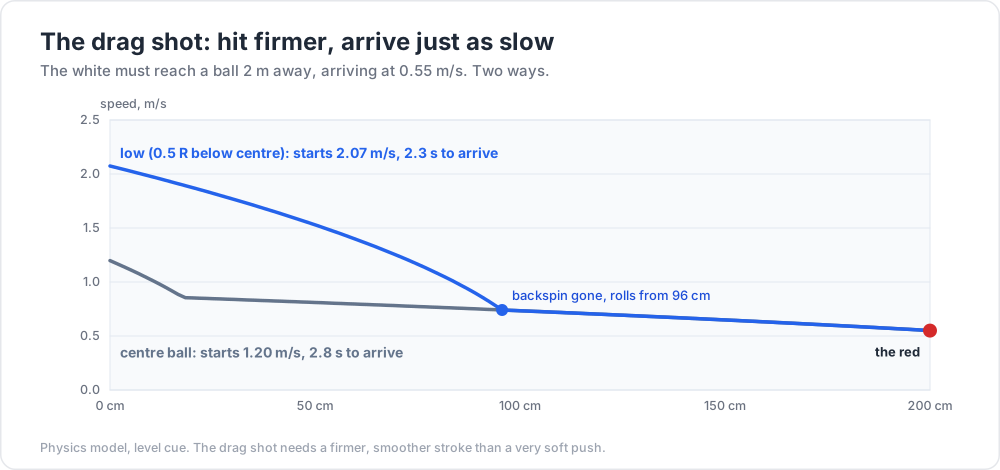
You want the white to reach a ball 2 m away slowly, at 0.55 m/s. Two ways (model):
| Starts at | Time to arrive | |
|---|---|---|
| centre ball, soft | 1.20 m/s | 2.8 s |
| drag: low, firmer | 2.07 m/s | 2.3 s |
The drag shot loses its extra speed while the backspin wears off. From 96 cm on, the two shots are the same: both roll at the same speed and reach the red at 0.55 m/s. The drag shot just gets there sooner.
Why play it (coaching advice): a firm, normal-feeling stroke is easier to keep straight than a very soft push, and a fast-moving white is less pushed off line by the cloth than a slow one.
Try it at the table
| Drill | Set-up | Look for |
|---|---|---|
| Cue on the line | white on the brown spot, hit it up over the blue and pink spots, centre ball, power 2 | it comes straight back to the tip |
| Power ladder | white on the baulk line, play power 1, 2, 3, 4 | where it stops matches the picture |
| Stop ladder | straight blue into a middle pocket, white 30, 60, 90 cm away | the white stops dead every time |
| Follow, run-through, screw | the same shot | follow 30 cm, run on 15 cm, screw 30 cm, screw 60 cm |
| Long screw | white 1.25 m from a straight red | back 40 cm, power 4 |
| Drag | white in baulk, a ball 2 m away; drag, then a soft centre ball | both arrive at the same speed |
Cheat-sheet
| Want | Tip | Power |
|---|---|---|
| Stop (straight) | a little below centre; lower for longer shots | medium (3) |
| Stun run-through | just below centre, above the stop spot | medium (3) |
| Follow | above centre (7/10 height = rolls at once) | gentle to medium (2–3) |
| Screw | low, inside the safe zone, cue level | medium to firm (3–4) |
| Long screw | power first (4), then the tip sets the distance | 4 |
| Drag | low, firmer; the backspin "brakes" the white early | about 3 |
| Every shot | chalk; tip inside the safe zone | pick 1–5 before you get down |
What's next
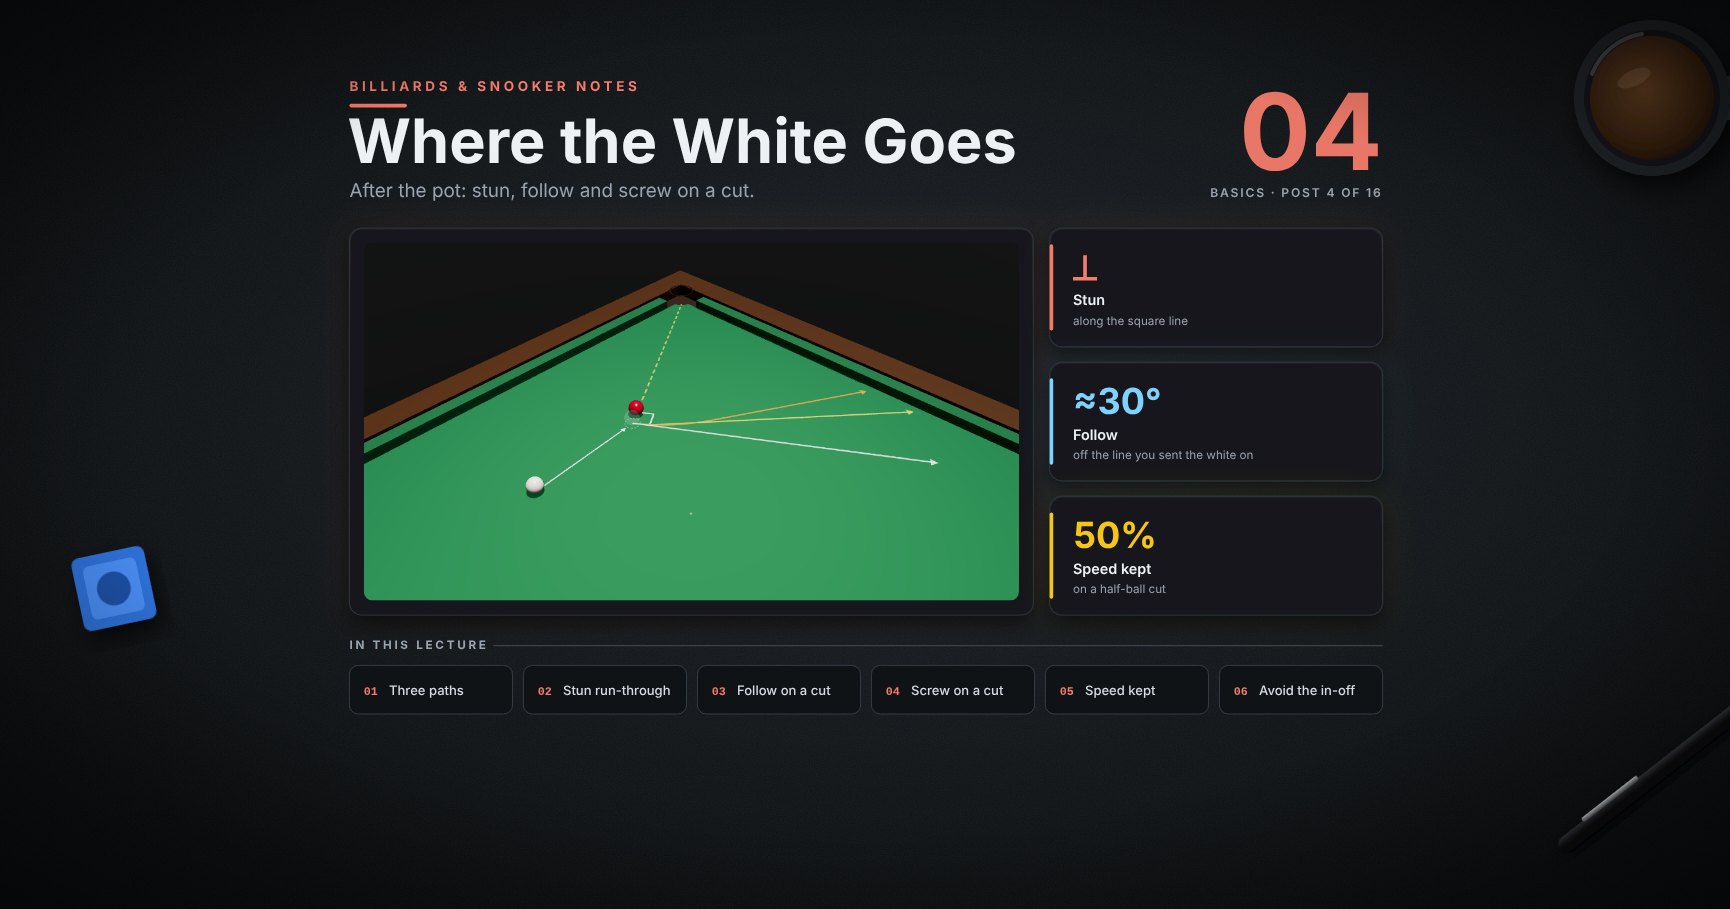
04 · Where the white goes. The same tips on a cut: the 90° rule, the 30° rule for rolling balls, screw and follow angles, stun run-through on a cut, and avoiding in-offs and kisses.
References
- Dr. Dave Alciatore, technical proofs and FAQ: sliding to rolling distance, natural roll at 7/10 of the ball's height, the effect of distance on draw, the miscue limit (about half the ball radius). https://billiards.colostate.edu/
- Dr. Dave Alciatore, "What effects does cue elevation have on a shot": swerve with a raised cue and side. https://drdavepoolinfo.com/?p=1979
- WPBSA, Official Rules (2022): in-off is a foul. https://wpbsa.com/rules/
- The rolling distances, tip heights and speeds come from the physics model of the balls (cloth sliding friction 0.2, rolling resistance 0.012) at snooker sizes. Real cloth changes the numbers; the patterns hold. Why players use the drag shot is coaching advice.
Note: this post is in progress. Planned additions: the stun run-through over different distances, and a power chart for long screw.