Billiards & Snooker — 01 · Cue Action and Elevation
Every shot starts with the cue: its line, how it moves through the white, where the tip meets the ball, and how steeply it points down. This first lesson covers a straight cue action, the follow-through, feathering and a pre-shot routine, chalk, tip height, and what "raising the cue" means, with the angle drawn for every case: normal shots, near a cushion and over a ball.
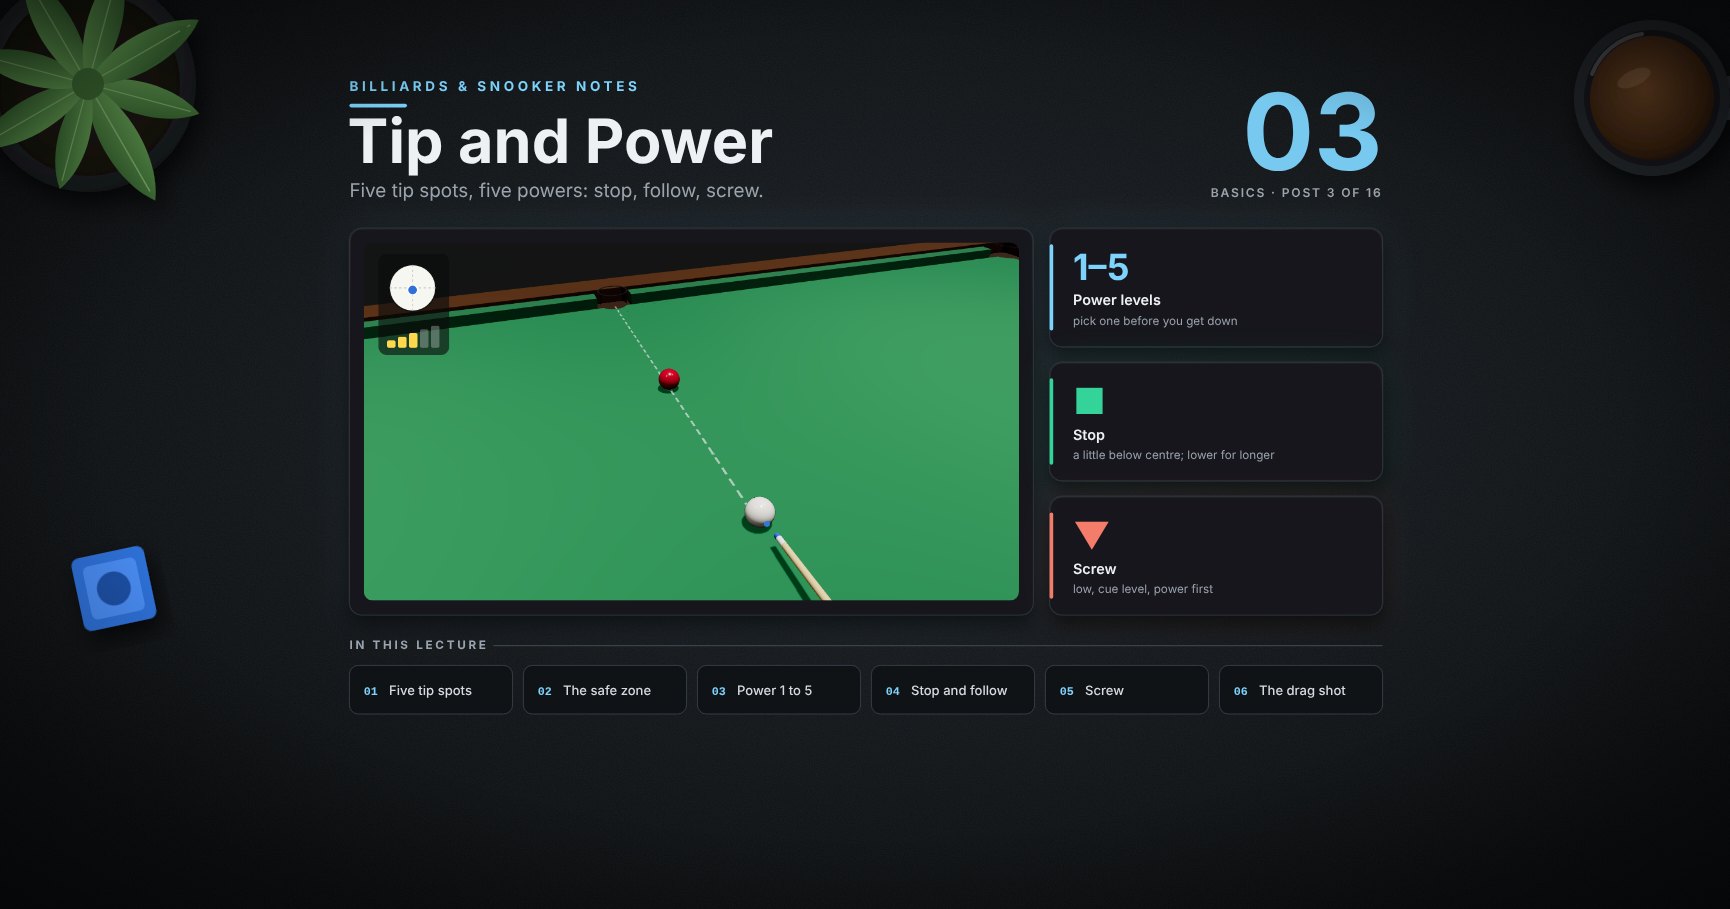
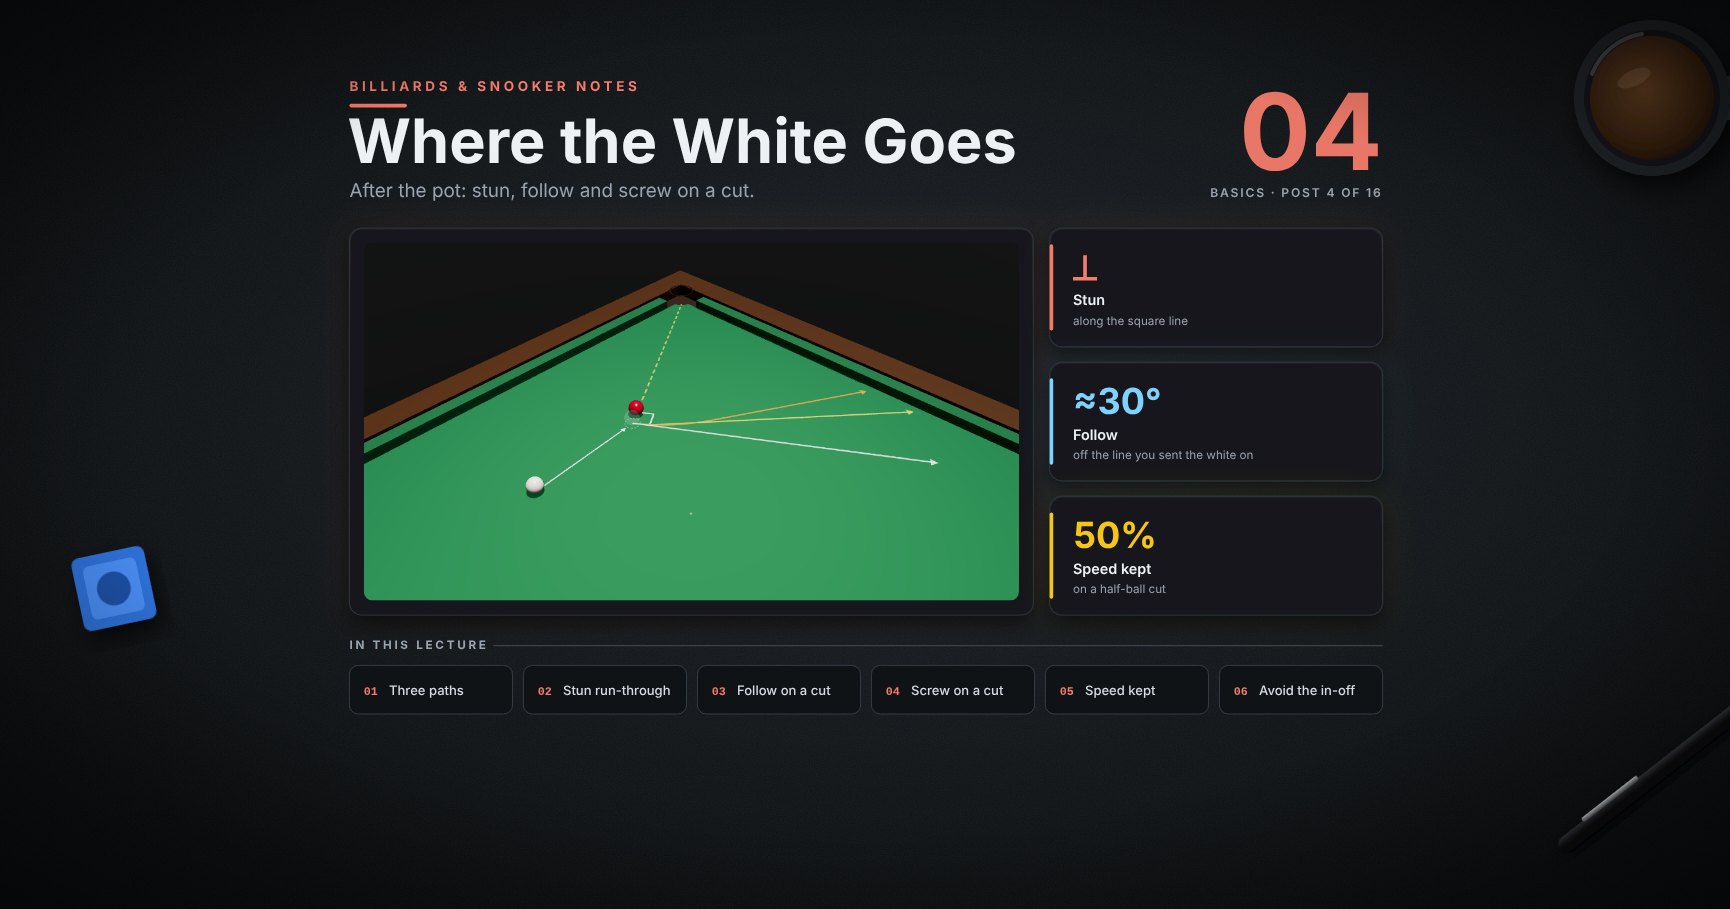
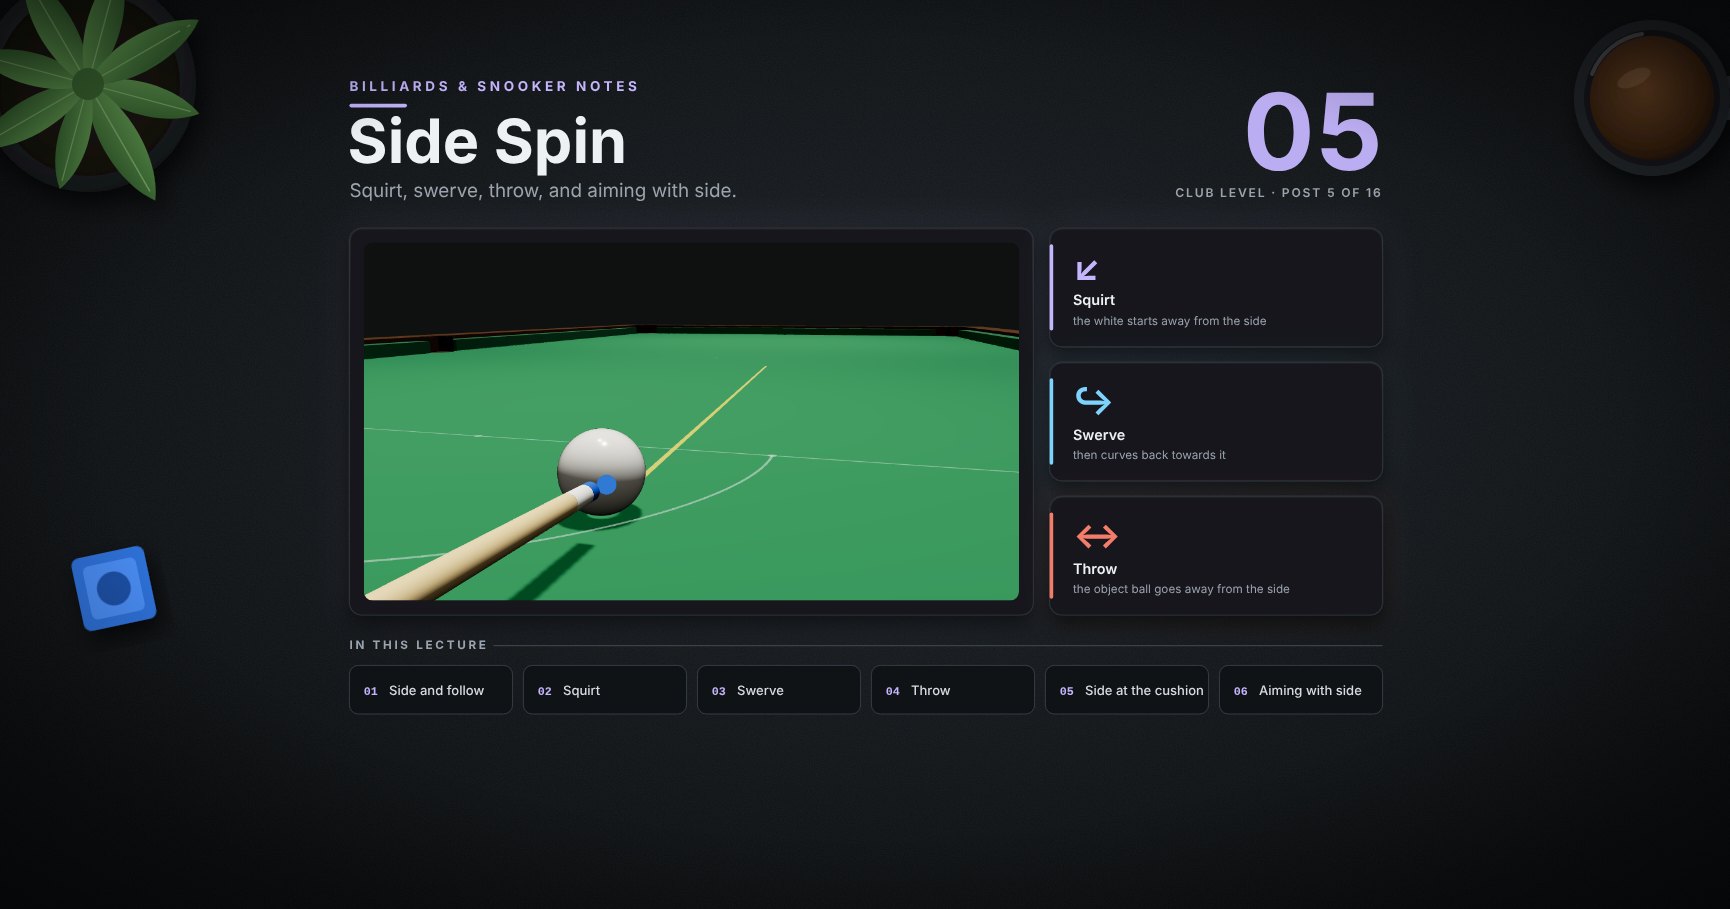
Series map. ★ Basics: 01 Cue action and elevation (this post) → 02 Aiming and potting → 03 Tip and power → 04 Where the white goes · ★★ Club: 05 Side spin → 06 Cut and side into pockets → 07 Cushions → 08 Doubles · ★★★ Advanced: 09 Escaping snookers → 10 Multi-ball shots → 11 Safety → 12 Position play · ★★★★ Hard: 13 Break-building → 14 Special shots · Reference: 15 Rules, tactics and practice · ★★★★★ Pro: 16 Cue-ball control.
Learning Outcome
- Deliver the cue straight along the line, and follow through.
- Use the same feather, pause and strike, and the same routine, on every shot.
- Keep the tip chalked and inside the safe zone.
- Hit high or low on the white with a level cue.
- Know what cue elevation is, how much each shot needs, and why lower is better.
- Find the angle the cue needs near a cushion and over a ball.
Chapter 1 — The cue action
1 · The cue on the line
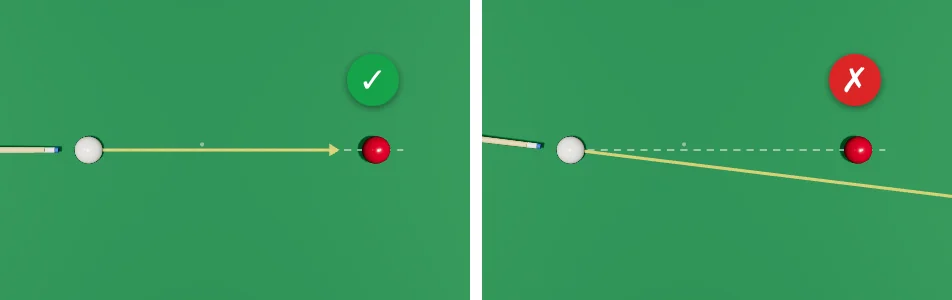
The white goes where the cue points at the moment of the hit. Line the cue up behind the white, on the line to where you aim, and keep it on that line from the back swing to the end of the stroke.
Watch out: a small turn of the cue, about 7° here, misses a red only half a table away.
2 · Follow through
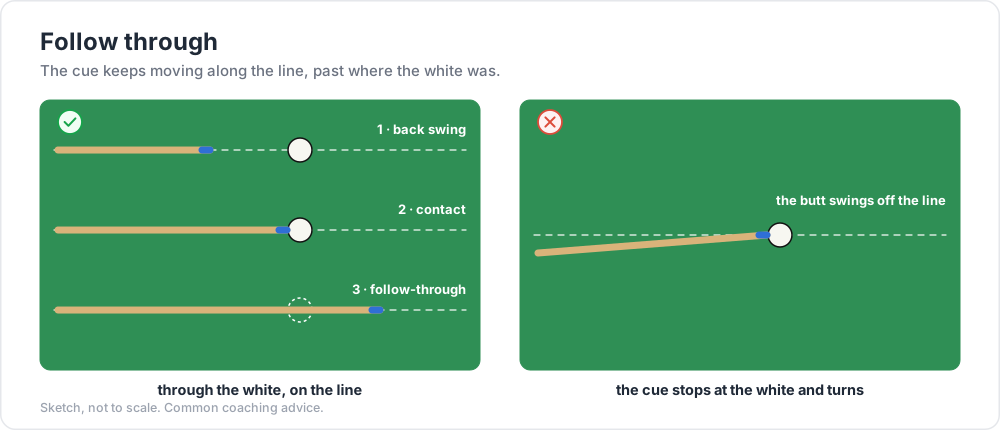
Let the cue run on past where the white was, along the same line. A cue that stops at the ball usually turns at the last moment ✗.
3 · Feather, pause, strike
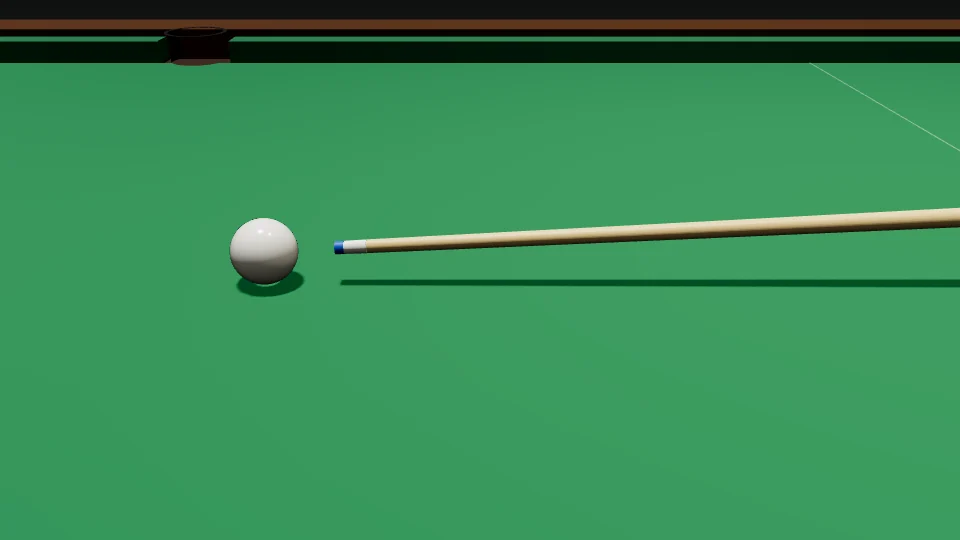
Watch the cue in the clip:
- Feathers: a few slow practice strokes, the tip close to the white. They check the line and the tip spot.
- Pause at the back of the last back swing.
- Strike: speed up smoothly through the white.
- Follow through, and hold still until the white has stopped.
Common pitfall: a quick, jerky back swing. The cue changes speed and line. Slow back, smooth through.
4 · A pre-shot routine
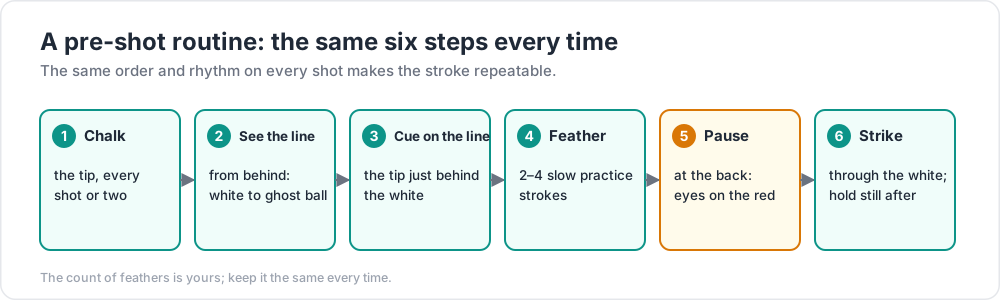
Do the same steps in the same order on every shot. The point is repetition: the stroke stays the same under pressure as in practice.
5 · Chalk, and stay in the safe zone
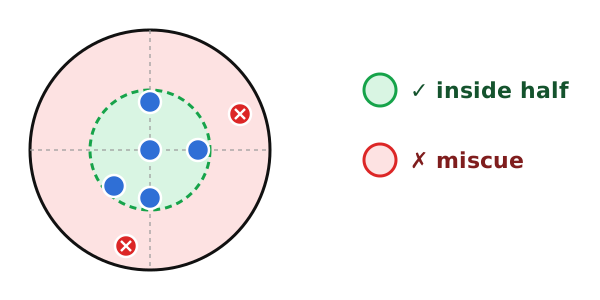
- Chalk the tip every shot or two. A dry tip slides off the white: a miscue.
- Keep the tip inside about half the radius from the centre. Further out, even a chalked tip miscues (post 03).
Chapter 2 — Tip height
6 · Hit high or low with a level cue
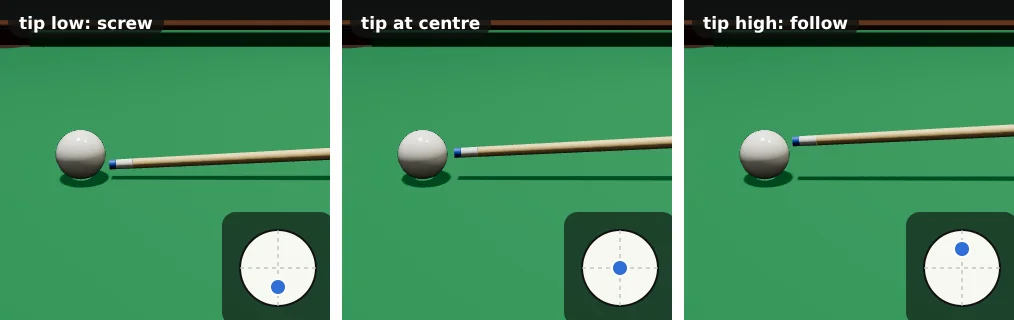
To hit low or high on the white, move the whole cue down or up and keep it level. Don't tip the cue to reach the spot.
| You want | Tip on the white | Post |
|---|---|---|
| screw (backspin) | below centre | 03 |
| stop / stun | centre or a little below | 03 |
| follow (topspin) | above centre | 03 |
Common pitfall: lifting the back of the cue to reach a low spot. The tip then strikes down into the white (post 03), and any side makes it curve (section 8).
Chapter 3 — Cue elevation
7 · What "raise the cue" means
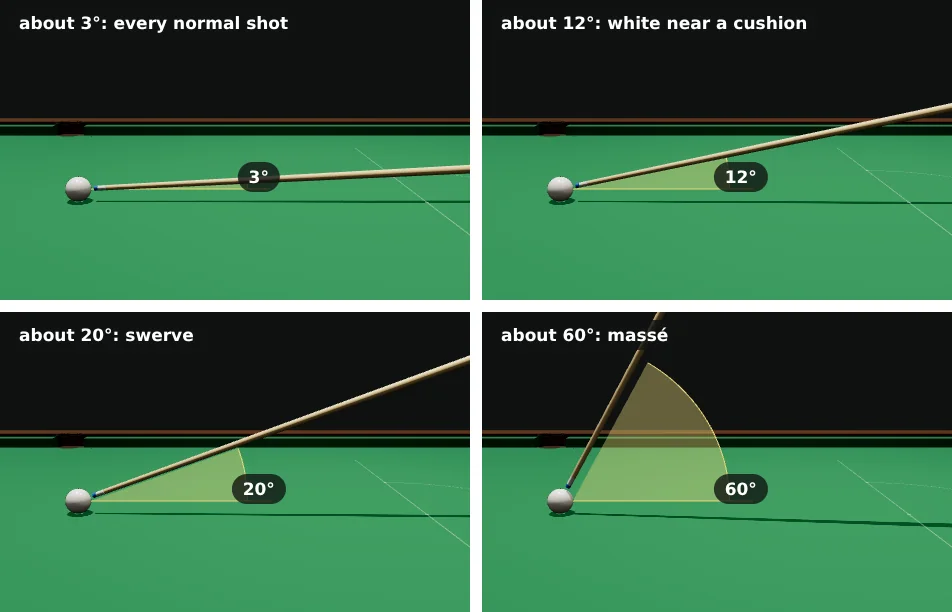
"Raise the cue 20°" means lifting the back (butt) end of the cue, so the cue points down at the white. The tip still hits the same spot. The yellow wedge is the angle between the cue and the cloth.
| Elevation | When |
|---|---|
| about 3° | every normal shot: as level as the cushion allows |
| about 12° | the white near a cushion (section 9) |
| about 20° | swerve on purpose (posts 05, 09, 14) |
| about 60° | massé, a big curve (post 14) |
8 · Keep it low
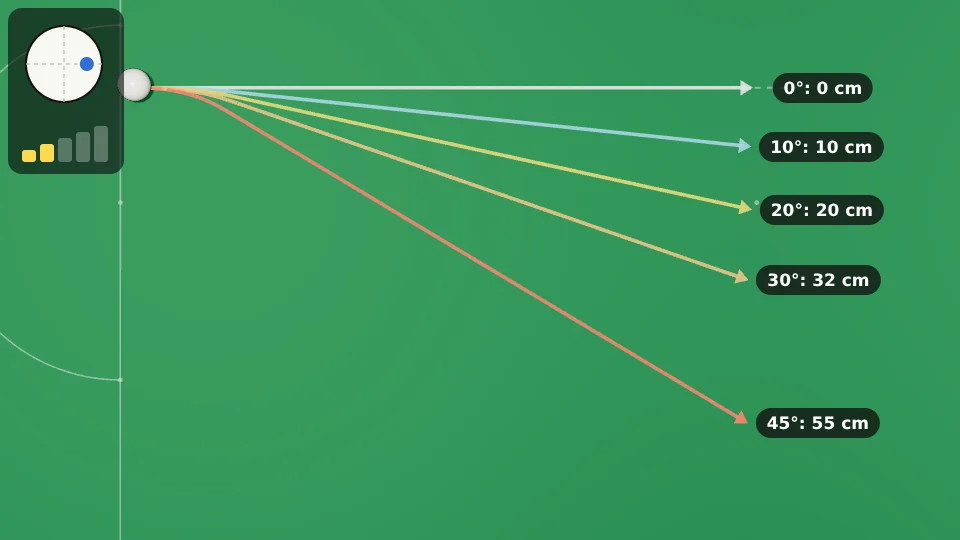
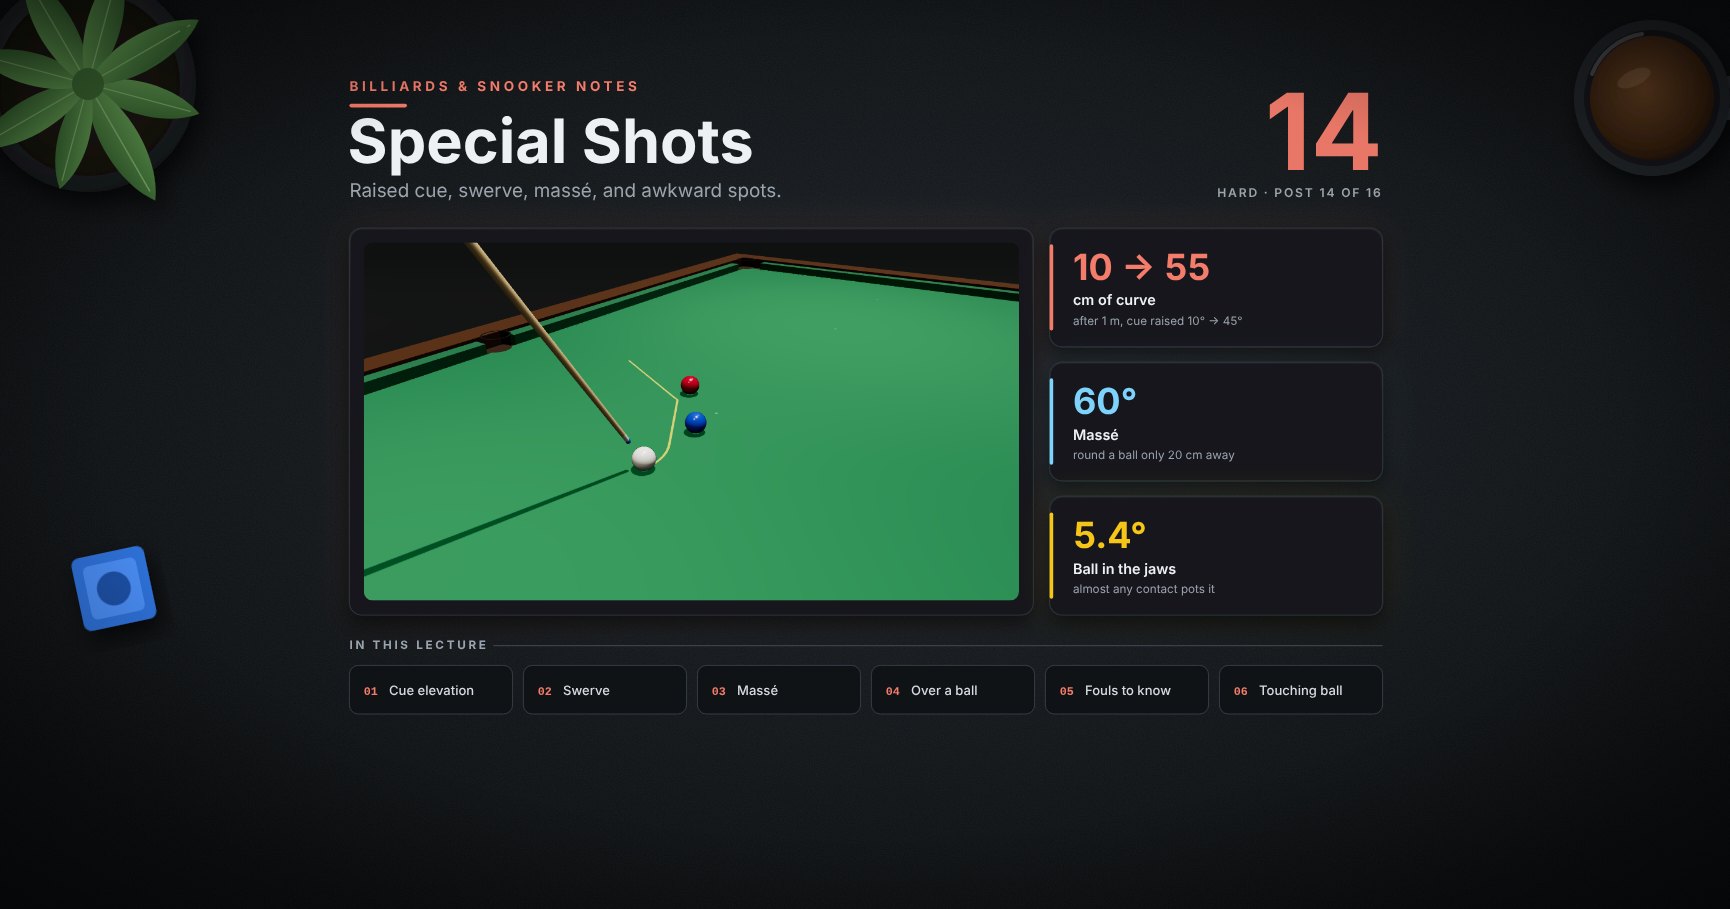
The same aim and the same side, only the cue raised more each time (model, from post 14). With side, a raised cue curves the white: 10 cm off the line after 1 m at 10°, 55 cm at 45°.
So keep the cue as low as the table lets you. If normal long pots keep missing, check your elevation first.
9 · Near a cushion
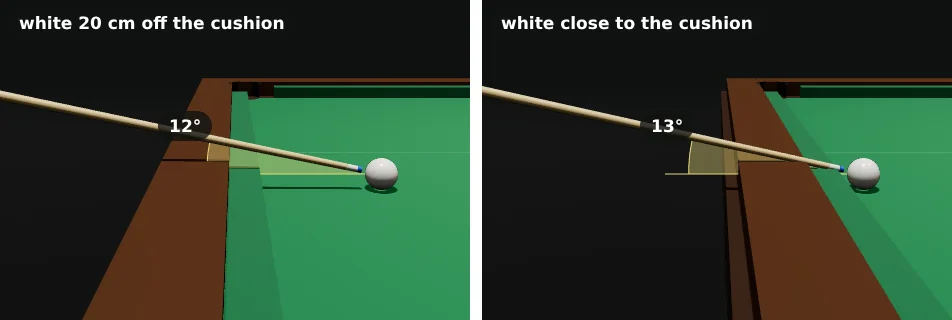
Near a cushion the cue has to pass over the rail, which is higher than the cloth, so it points down more (geometry of these set-ups):
| White | Cue raised |
|---|---|
| 20 cm off the cushion | about 12° |
| close to the cushion | about 13° |
You can only reach the top half of the white. Keep the tip near centre, the stroke short and smooth, and let pace, not spin, do the work.
10 · Over a ball
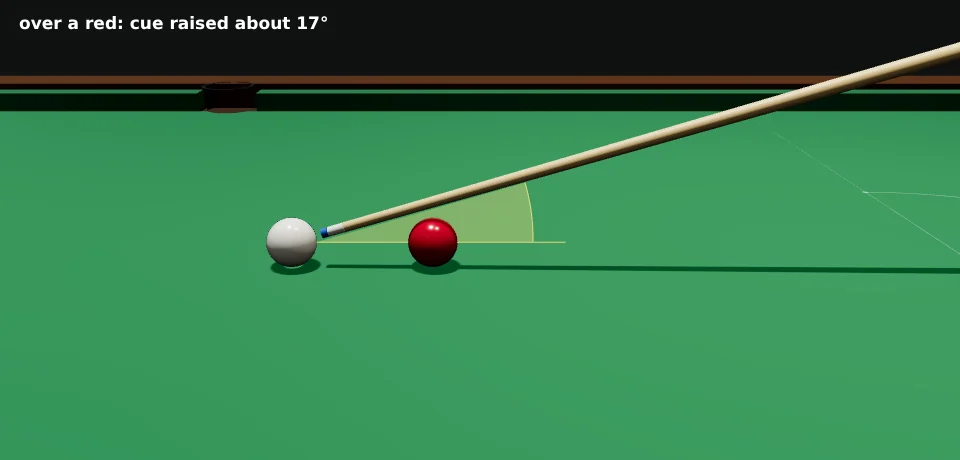
When a ball sits just behind the white, the cue has to go over it. Here, with a red 15 cm behind, the cue must be raised about 17°.
- Play it smoothly and not too hard.
- Keep the tip near centre: with this angle, side curves the white (section 8) and screw is weaker.
- Don't touch the ball behind: moving any ball with the cue is a foul.
11 · Out of reach: the rest, spider and swan
When the white is too far to reach, the club has long cue rests. The cue lies on the rest's head:
| Tool | Use it when | Cue angle |
|---|---|---|
| rest (X-shaped head) | the white is far away, nothing behind it | as low as normal |
| spider (a tall arch) | one ball behind the white | raised, as in section 10 |
| swan (a long curved neck) | a group of balls behind the white | raised, as in section 10 |
On all of them, keep the tip near centre and play a little softer than normal.
Try it at the table
| Drill | Set-up | Look for |
|---|---|---|
| Straight line | the white on the brown spot, hit it up over the blue and pink spots, off the top cushion, centre ball, power 2 | it comes straight back to the tip |
| Follow-through | the same, a coin 15 cm past the white | the tip passes over the coin, on the line |
| Routine | ten shots, the same six steps each | the same rhythm every time |
| Height ladder | a straight red, tip low, centre, high, the cue level each time | screw, stop, follow |
| Elevation check | the white 20 cm, then close to a side cushion | a smooth stroke, no miscue |
| Over a ball | a red 15 cm behind the white | a clean centre-ball hit |
Cheat-sheet
| Line | the white goes where the cue points at the hit |
| Stroke | feather, pause, strike, follow through, hold still |
| Routine | the same six steps every shot |
| Tip | chalked; inside half the radius |
| Height | move the whole cue down or up; keep it level |
| Elevation | lift the butt only as much as you must: about 3° normally |
| Cushion | about 12–13° to pass over the rail |
| Over a ball | about 17° with a red 15 cm behind |
What's next
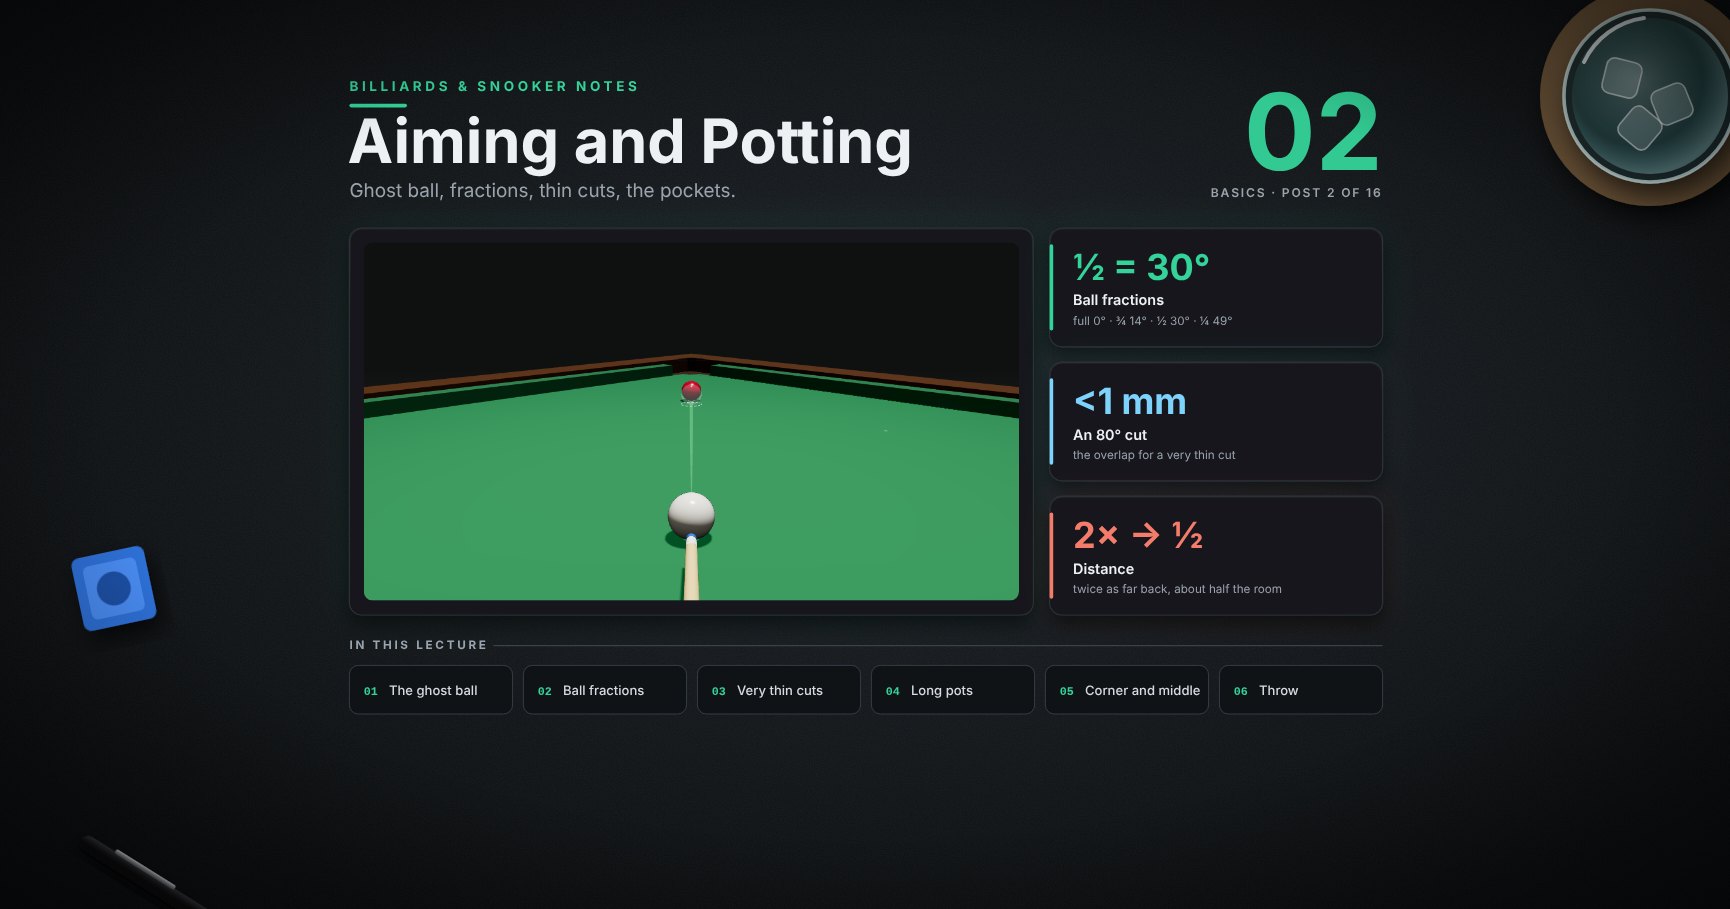
02 · Aiming and potting. The ghost ball, the classic red-dot miss, ball fractions, thin cuts, the pockets and long pots.
References
- WPBSA, Official Rules of the Games of Snooker and English Billiards (2024-25): table and ball sizes, fouls for touching a ball. https://www.wpbsa.com/rules/
- Dr. Dave Alciatore, "What effects does cue elevation have on a shot": swerve, hop and follow-through with a raised cue. https://drdavepoolinfo.com/?p=1979
- Masters of Games, extended spider and swan rests: what each is for. https://www.mastersofgames.com/cat/snooker-pool-extended-spider-swan-rests
- The pictures are drawn to scale with the cue only; the elevation numbers are the geometry of those set-ups, and the curve numbers come from the physics model. The follow-through and the routine are common coaching advice.
Note: this post is in progress. Planned additions: the cue extension and butt for very long shots.